

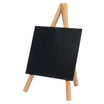


1 - Use Liquid Chalk
Liquid chalk is easier to use and more versatile than traditional chalk, even on traditional chalkboards. Pure chalk comes from a natural resource created by microplankton in the world’s seas and oceans. It’s pressed and compacted into sticks to make it easier to use - which is great, but it’s still prone to crumble – which is not so great.
Liquid chalk, on the other hand, is made from chalk with an extra magical ingredient called Ethanol, or alcohol to you and me. The alcohol mixed with chalk allows it to flow freely instead of crumbling and transfers to many surfaces with effortless ease.
2 - Use Professional Grade Chalk Pens
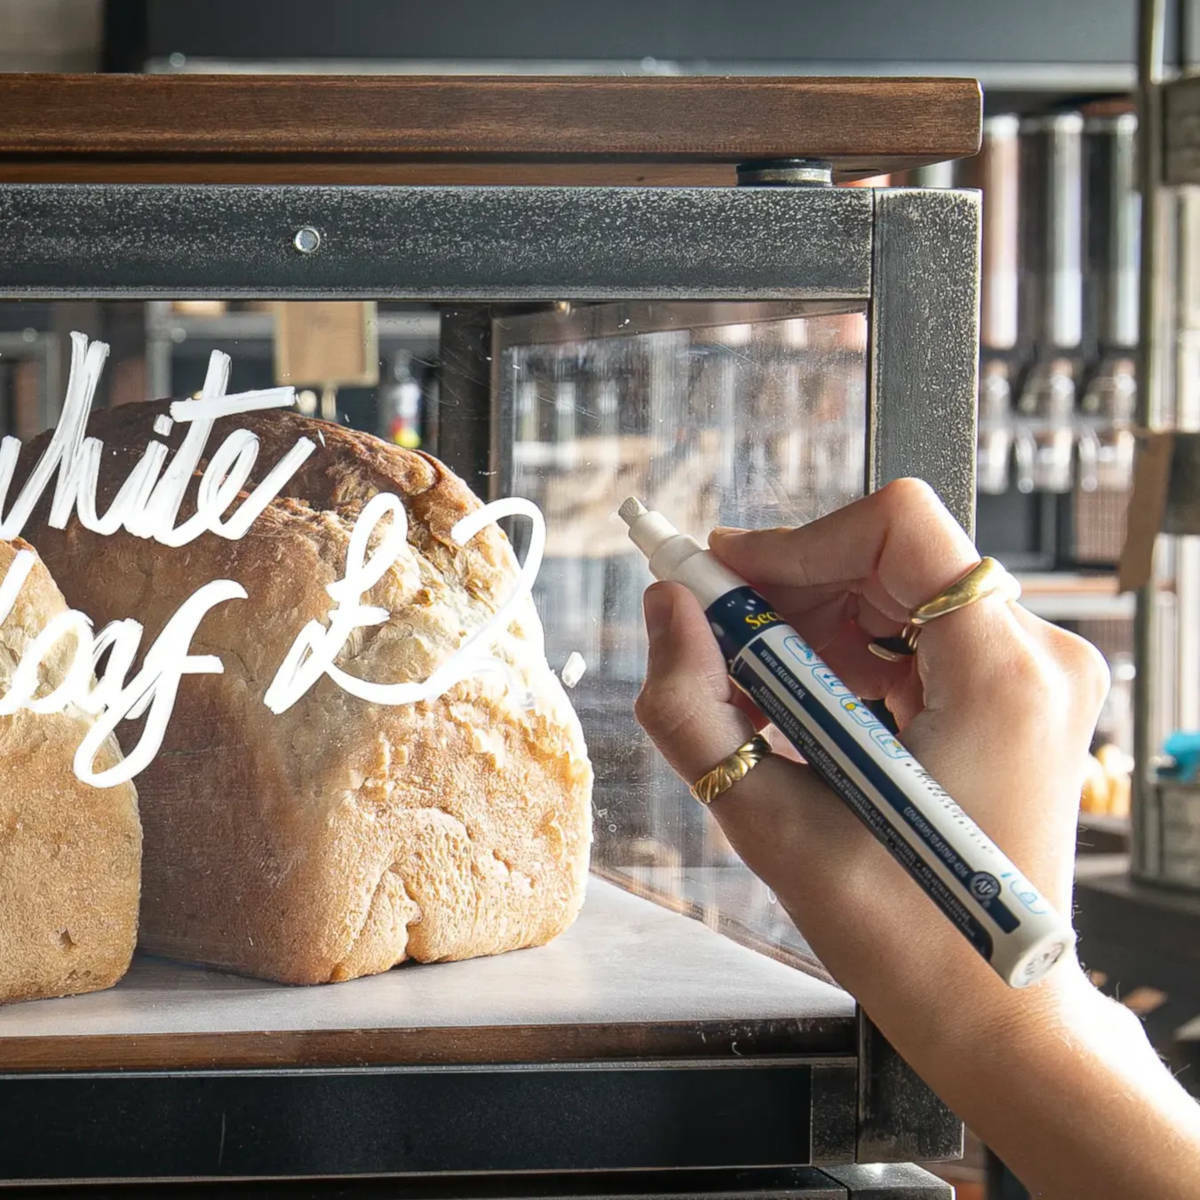
Have you ever wondered why your ink is too runny, your nib is dry and pump all but clogged? The truth is, it’s easy to find cheap imitation chalk pens online but unless you’re using professional-grade tools, it’s impossible to get that clean, consistent and legible finish. Securit are liquid chalk pen geniuses who have been perfecting their chalk markers for more than thirty years. We wouldn’t use anything else!
3 - Washable or Waterproof Chalkboard Pens
Washable ink pens are designed to be used on signage that you plan to display inside your store. Ideally, it's used for regularly changing messages like prices or “special of the day”, anywhere you simply want to wipe off with a damp cloth and start again.
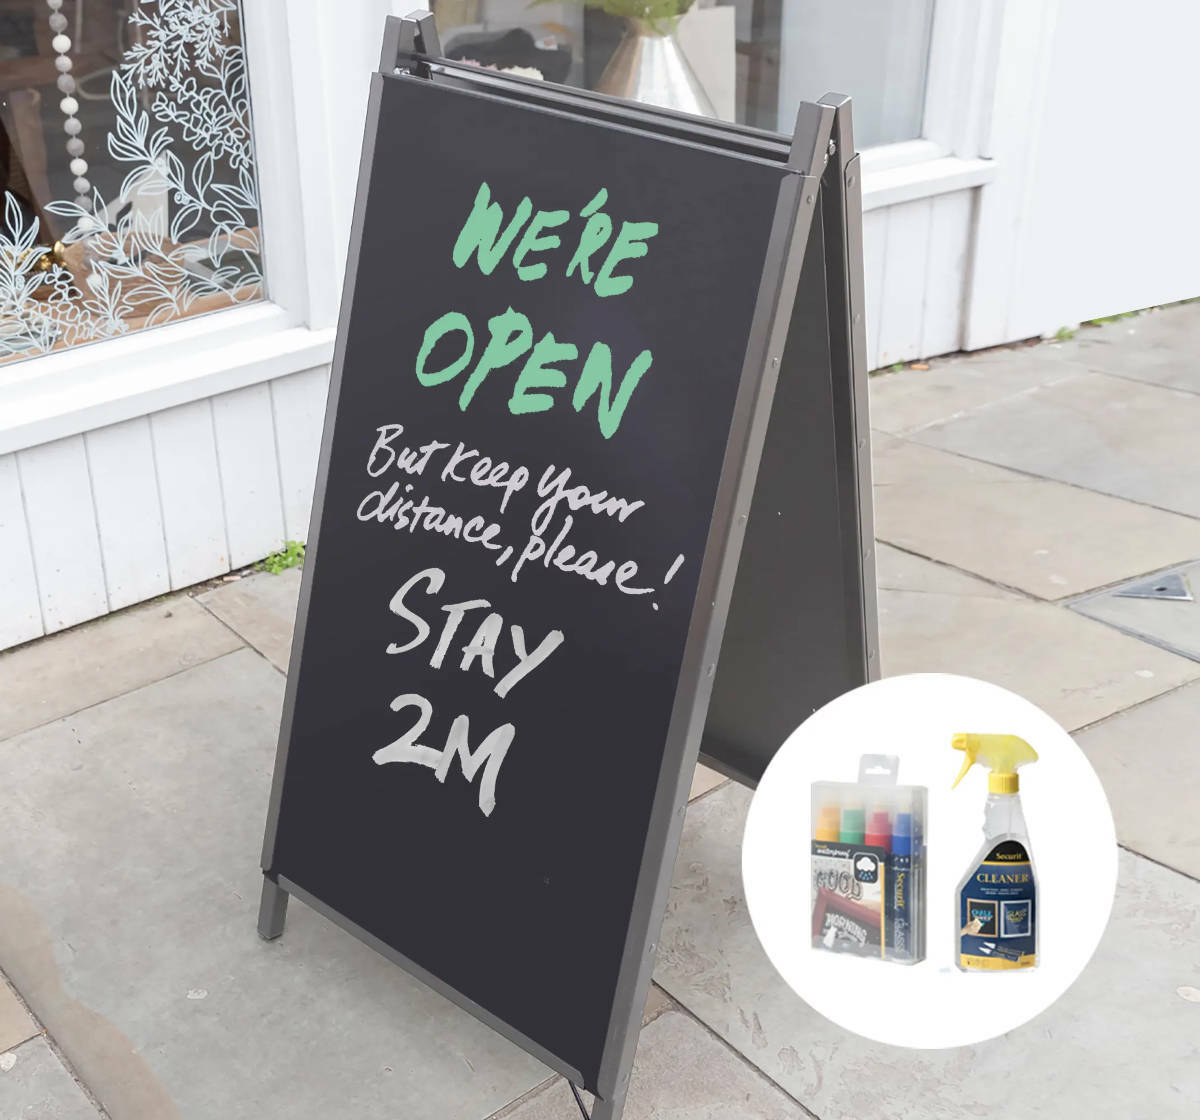
For larger blackboard displays or outdoor signage that’s a little more permanently positioned - choose waterproof chalk markers.
Waterproof pens are not permanent. Blackboards that have been written on with waterproof chalk markers can be cleaned off with a cloth and the special liquid chalk marker cleaner spray we sell.
Remember, waterproof chalk pens will also write on glass or clear acrylic perspex like cake domes, clear counter top screens and food guards.
4 - Choose Your Nib
The thickness of the chalk pen nib you choose is important.
Liquid chalk pens are available in a range of nib sizes - 2mm, 6mm and 15mm giving you different line thicknesses for different sizes of the chalkboard.
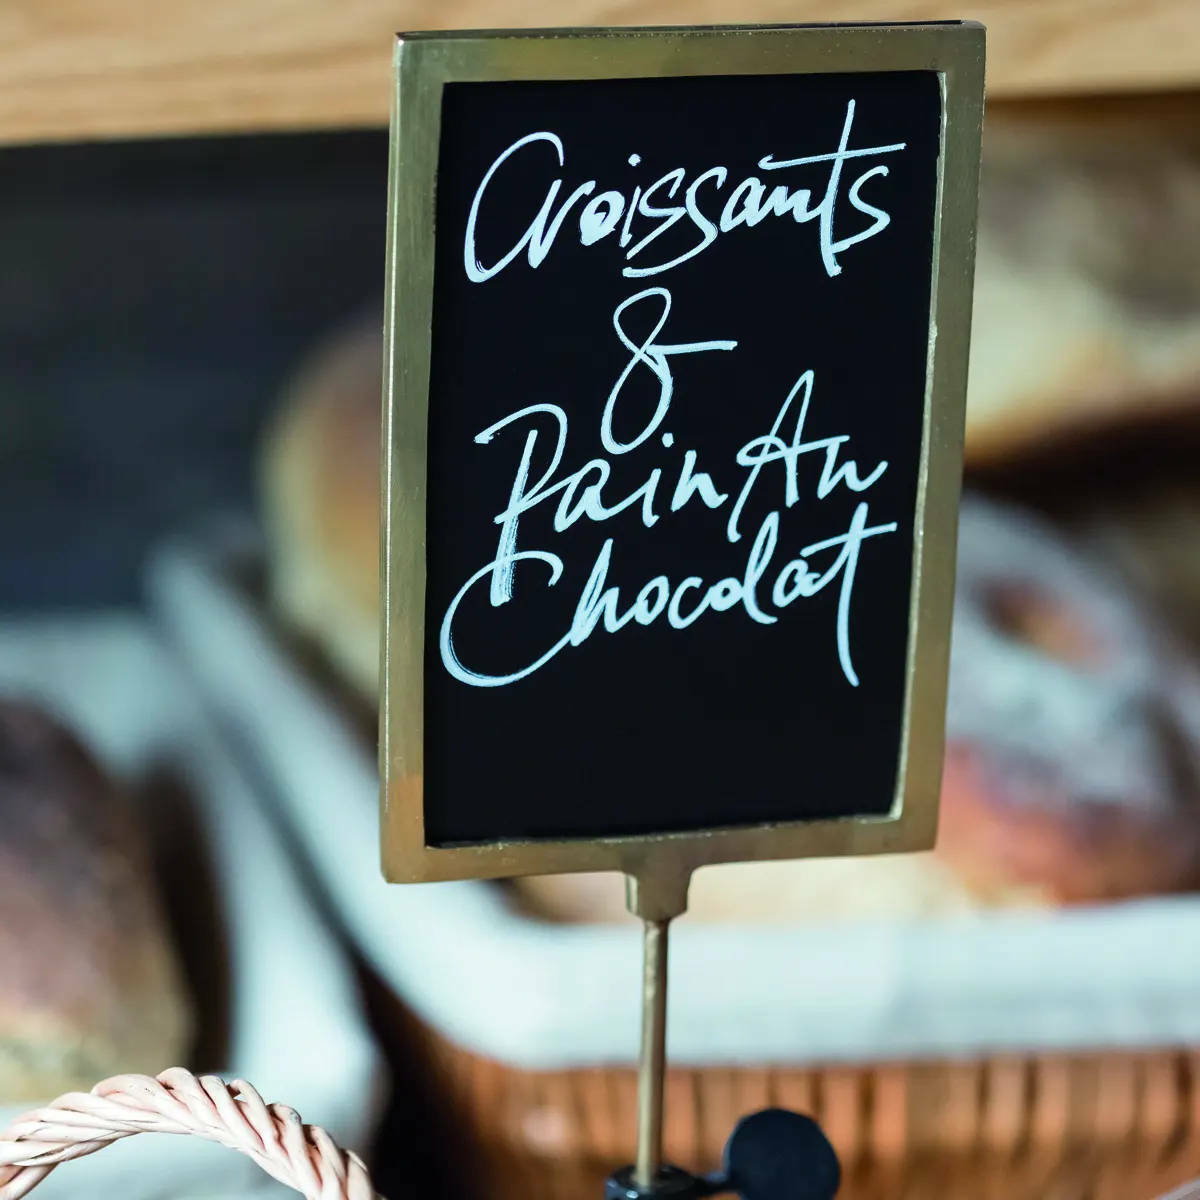
The medium-sized nib is 2-6m and is the most versatile for small and medium-sized boards. The tip is angled allowing you to opt for 2mm for smaller text and 6mm for larger or for colouring in areas.
The 2mm nib is perfect for precision detailing.
The larger 7-15mm pens are designed for use on pavement boards, large wallboards and windows allowing you to block colour and draw bold titles or borders.
5 - Prepare Your Chalk Pens
A liquid chalk pen takes a little while to get going, so a bit of patience is required at the outset.
Give your pen a shake, take the lid off and place the nib on the board. Gently press the pen nib up and down a few times. Repeat the process and eventually, you will see the liquid chalk coming through the nib.
Remember, pumping the nib too much can leave you with a soaked tip, making your pen less accurate. It may even drip onto your board, and you don’t want that!
6 - Plan Your Design
The most disappointing chalkboard signs are simply down to poor planning. The first step to brilliant a blackboard display is to lay out your design first on a piece of paper.
Sketch a rough layout so you know what spacing you have to work with, but remember, a chalk pen draws thicker than a pencil, so make allowances.
Are you writing on an A-frame or pavement signage?
Close your A-frame first and lay it flat to write on it. This will stop the ink from running and avoid your hand slipping as you write.
7 - Select Your Colour
Let’s talk colour.
Truth is, white chalk is always easier to read on a board, but splashes of colour can draw customers' attention or help messages stand out when used selectively. Used sparingly, colours can enhance your design.
If you’re looking for subtle colour variation, why not opt for pastel chalk markers? The less obtrusive touch of colour will add to your design without taking over.
8 - Avoid Re-tracing Your Steps
Writing on a chalkboard can look strange as different sections are at various different drying stages.
Wet sections look more dynamic and there’s a temptation to retrace your steps on the dry bits.
Don’t do it, it can make your ink run. Just be patient. Once your board has fully dried you can touch up.
9 - Let It Dry
Chalk usually dries within 60 seconds and that’s when you can touch up or add shading. Just take care not to contaminate your chalk pen nib by using one colour on top of another.
If you’re signwriting on outdoor pavement signage, let your design dry for as long as possible to ensure it’s weather-resistant.
10 - How To Clean Your Board
Most commercial blackboard signage is made from a composite material that includes melamine that wipes clean every time. That means you won’t find that milky, smudgy look called “ghosting” that often happens with cheaper bleach board products on the market.
It is not true that liquid chalk leaves permanent marks on a chalkboard, so long as you clean them properly.
Most readily available household spray cleaners are unlikely to clean the waterproof chalk off easily, but special liquid chalk marker spray is designed to do the job in a flash.
For best results, spray directly onto your board and leave for 30 seconds before removing text with a microfibre cloth. If it isn’t completely clean, repeat with a fresh cloth.


